If you’re reading this, you might be staring at a rescue mode screen, heart racing, thinking you’ve lost all your VPS data after rescaling your Hetzner server. Don’t panic – I’ve been there, and your data is likely safe. Here’s how I recovered my Hetzner VPS and got everything back online.
The Problem: Black Screen After VPS Rescale
I was managing a Hetzner VPS with 4GB RAM and 3 CPU cores (though I wasn’t entirely sure about the CPU specs). I decided to rescale my VPS to get more resources – a routine operation, or so I thought.
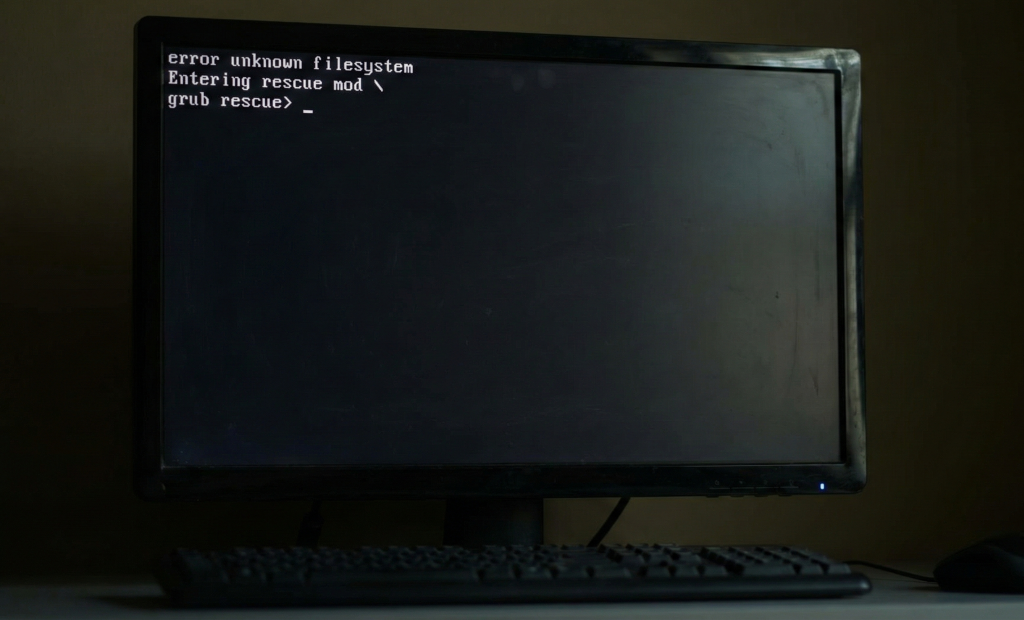
After the rescale completed, my VPS wouldn’t boot. Instead, I was greeted with a rescue mode screen and what looked like a complete system failure.
My First Reaction: “Did I Just Lose Everything?”
My heart sank. Had the rescale operation wiped my data? Was everything gone? This is the moment where most people start thinking about their last backup (if they have one).
But here’s the good news: Your data is probably still there.
Step 1: Verify Your Data is Still Present
The first thing I did was check if my data was actually there. In rescue mode, I ran a simple command:
bash
ls /
Relief! I could see my root directory structure was intact. The operating system files, user data, and configurations were all still there.
However, when I checked the /boot directory, I noticed something critical was missing:
bash
ls /boot/grub
The GRUB folder was missing or corrupted. This explained why the system wouldn’t boot – GRUB (the bootloader) couldn’t find the necessary files to load the operating system.
Why This Happens During VPS Rescaling
Rescaling a VPS often causes these issues:
- Disk UUIDs change – Your partitions get new identifiers
- Disk names change – What was /dev/vda might become /dev/sda
- GRUB references break – The bootloader can’t find the right partition
- Boot files become invalid or missing – The /boot/grub directory gets corrupted
This is actually a very common issue and doesn’t mean data loss – it’s just a broken bootloader that needs to be reinstalled.
The Solution: Reinstalling GRUB in Rescue Mode
Here’s the step-by-step process I used to recover my VPS. This should work for most Hetzner VPS instances.
Step 1: Enable Rescue Mode in Hetzner Console
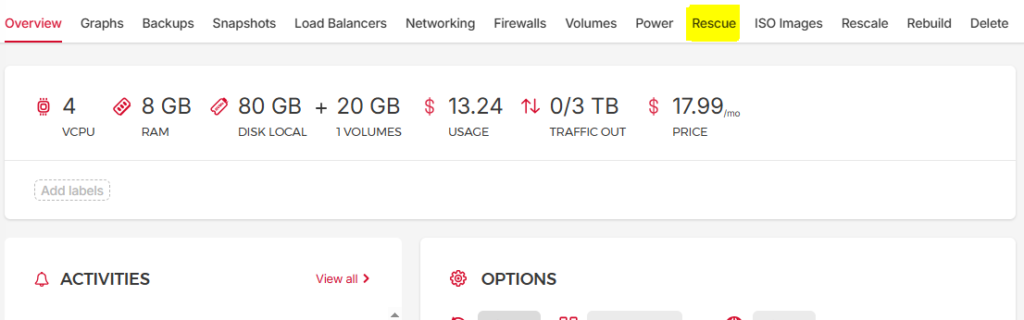
- Go to your Hetzner Cloud Console
- Select your VPS instance
- Click on the “Enable Rescue” button
- Power off your VPS
- A rescue mode password will be generated – copy and save this password
- Power on your VPS
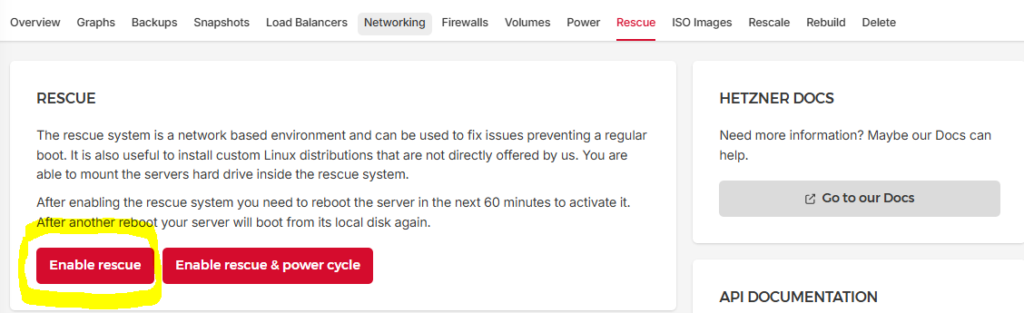
Your VPS will now boot into rescue mode, where you have root access to fix the system.
Step 2: Identify Your Disk Partitions
First, check which disk partitions are available:
bash
lsblk
This will show you all your disks and partitions. Look for your root partition – it’s typically /dev/sda1 or /dev/sda2 on Hetzner systems.
Step 3: Mount Your System Partitions
Now we need to mount the root filesystem and bind the necessary system directories:
bash
mount /dev/sda1 /mnt
mount –bind /dev /mnt/dev
mount –bind /proc /mnt/proc
mount –bind /sys /mnt/sys
Note: If your root partition is on a different device (like /dev/sda2), adjust the first command accordingly.
Step 4: Enter Your System Environment
Use chroot to work inside your actual system:
bash
chroot /mnt
You’re now operating inside your VPS’s file system as if it had booted normally.
Step 5: Reinstall GRUB
This is where we fix the bootloader. The commands depend on whether you have a UEFI or Legacy BIOS system.
For UEFI VPS (Most Modern Hetzner Systems):
bash
apt update
apt install –reinstall grub-efi-amd64
grub-install –target=x86_64-efi –efi-directory=/boot/efi –bootloader-id=GRUB
update-grub
For Legacy BIOS (Older Images):
bash
apt update
apt install –reinstall grub-pc
grub-install /dev/sda
update-grub
How do you know which one to use? Most Hetzner VPS instances created in recent years use UEFI. If you’re unsure, try the UEFI commands first – if they fail, fall back to Legacy BIOS.
Step 6: Exit and Reboot
Once GRUB is reinstalled and updated, exit the chroot environment and reboot:
bash
exit
reboot
Step 7: Disable Rescue Mode
After the reboot, your VPS should boot normally. Once you’ve confirmed everything is working:
- Go back to Hetzner Cloud Console
- Disable rescue mode for your VPS
- Reboot one more time to ensure it boots normally without rescue mode
Success! VPS Fully Recovered
In my case, the VPS booted perfectly after following these steps. All my data, configurations, and services were intact – only the bootloader needed to be fixed.
Prevention Tips for Future Rescales
While this issue is common, here are some tips to minimize problems:
- Always take a snapshot before rescaling – Hetzner makes this easy
- Check boot mode compatibility – Ensure your image supports the new hardware
- Monitor the boot process – Use the Hetzner console to watch for errors
- Keep rescue mode credentials handy – You never know when you’ll need them
Key Takeaways
- Rescale operations breaking GRUB is normal – it’s not data loss
- Your data is usually safe – the root filesystem remains intact
- GRUB reinstallation fixes most boot issues – it’s a straightforward process
- Hetzner’s rescue mode is your friend – it gives you complete access to fix problems
Conclusion
Seeing your VPS fail to boot after a rescale operation is terrifying, but it’s usually not as catastrophic as it seems. In most cases, it’s just a broken bootloader that can be fixed in 10-15 minutes using rescue mode.
I hope this guide helps you recover your Hetzner VPS. If you’re dealing with this issue right now, take a deep breath – your data is probably fine, and you’ll be back online soon.
Have you experienced similar issues with your VPS? Share your experience in the comments below!
This guide is based on personal experience with Hetzner Cloud VPS. Always ensure you have backups before performing major operations on production systems.


Leave a Comment